|

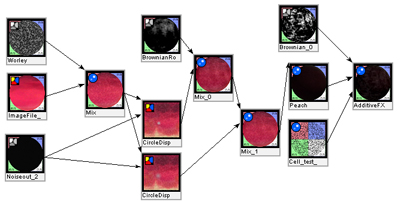
I decided to build this shader mostly using SLIM because I am not very good at simply writing up my own from scratch. I
got as far as I could with that and Prof. Keeson helped write a color and displacement function that we could throw on
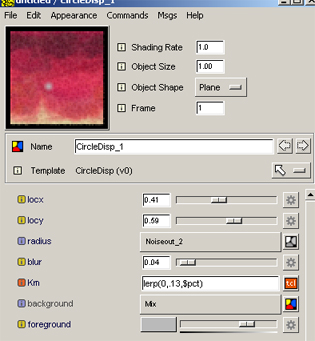
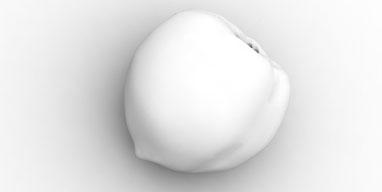
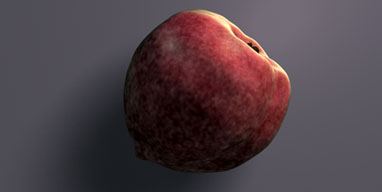
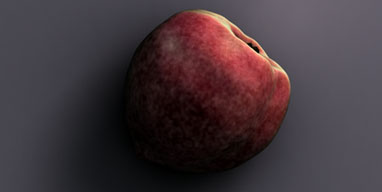
top of what I had done. This feature has several abilities, as you can see in the image. You can create a spot (which
can be altered with noise or whatever to alter its shape, you can move its position, change the radius, set a blur
to soften the edges, and give it a color. Further more, this same spot has a displacement built in that you can use to set
to expand out or inside of the original geometry to get whatever desired result you need.
All of this together gives some really interesting features.
The use of the second circle displacement node was added due to a rather curious accident. Somehow, when I lerped the blur
attribute, my entire model shrank slightly over the course of the animation. While this is exactly what I needed to do down
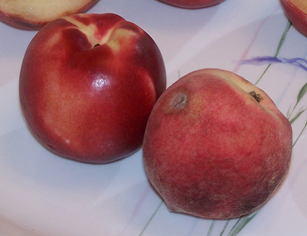
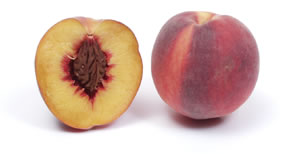
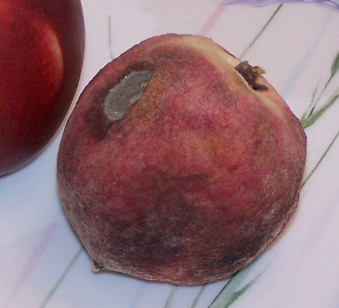
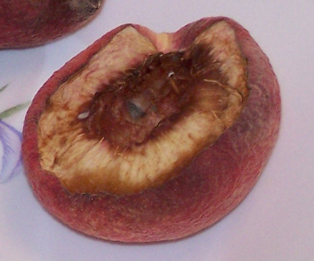
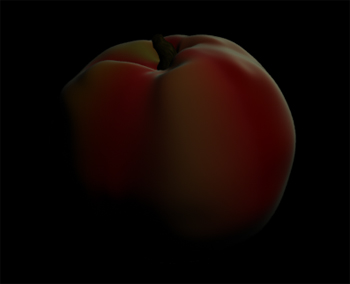
the line, it wasnt what I wanted then. So I ended up copying the node and using that lerped blur to help give my rotting peach
a little bit of shrinkage without the use of keyframing the model itself in Maya. The result is not bad. However I did want
to shrink the peach some more, and have it shrivel up a little bit like a raisin (as the rotting peach did after letting it sit
for another 2 weeks, but wasnt captured in the first reference animation.
 
At the last minute I was able to learn how to do an occlusion pass so I threw that overtop and the result was much better. HOWEVER...
The occlusion layer did not scale down with the shader, so it was useless in compositing over it... Ill have tof ind out if there is
a way to fix that... it looked so good too...

Overall the project went well, but there was a lot more I wanted to do with it but didnt have the time or the experience to get it
done quick enough. At least this is a good start in the right direction.
|
|
// CIRCLE VERSION 4___________________________________
color circleDisp(float locx, locy, radius, blur,Km;
			color background, foreground)
{
color result = 0;
float d = distance(point(locx,locy,0), point(s,t,0));
float mask = 1 - smoothstep(radius - blur, radius + blur, d);

normal n = normalize(N);
P = P - n * mask * Km;
N = calculatenormal(P);

result = mix(background, foreground, mask);
return result;
}
|
