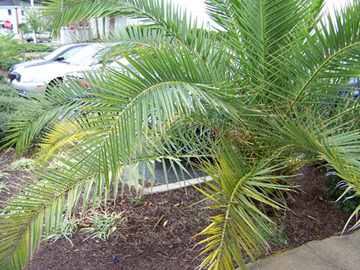
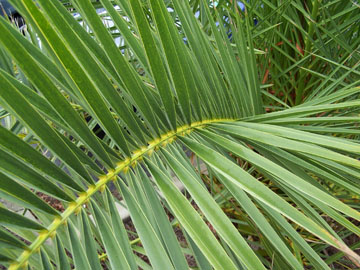
Reference images.
l e v e l - o f - d e t a i lThe animations on this page demonstrate the support offered by RenderMan for level-of-detail (LOD). Three models of a saw palmetto were made in Maya. Using LOD the renderer chooses the appropriate model to use based on the area of screen space occupied by the model. |


Reference images.
|
|
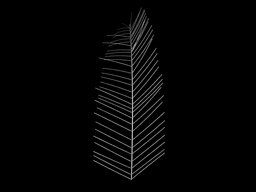
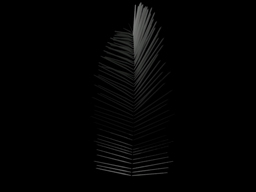
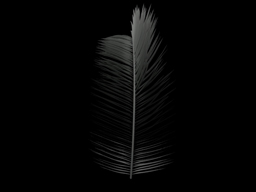
I started off building three versions of one palm leaf. This would later be used to build an entire plant and then that plant used in a Level of Detail (LOD) project. The low res version uses only Maya curves. The medium res was made of simple polygon planes and the high res was part nurbs and polygons.
|
|
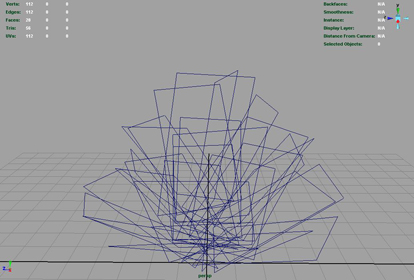
Using planes, I created a proxy leaf, an object to represent the leaf, and then create the entire plant with these planes.
|
|
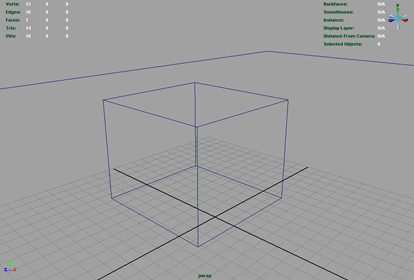
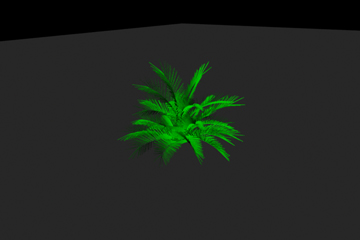
In a similar fashion, I then take the entire plant and create a new box to axt as the proxy for the entire bush. This is then the object I use in Maya as my 'plant' and I can place them anywhere I want. The second image is the render of the plant from the proxy box model.
|
|
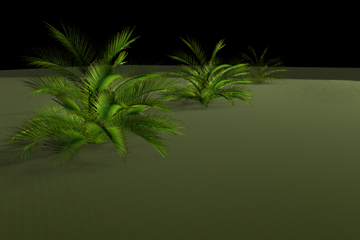
Adding a simple ramp and blinn color and a light source with shading.
|
|
|
One of two animations showing LOD in action. This one is as seamless as I can get the transition so its hard to tell just where the transitions are. (Shadows werent working from the render farm, I need to re-investigate)
|
|
|
The 'bad' version where I changed some values of the LOD pixel coverage to demonstrate how to deliberately make the transition between the three models noticable. Instead of a gradual change, I kept the pixel numbers the same as my way of making the change obvious.
|
TransformBegin Detail [-1.1 1.1 0 5.3 -2.5 .83] DetailRange [ 1 1 6000 6000 ] #Color 1 0 0 ReadArchive "lowres2.rib" DetailRange [ 6000 6000 35000 35000 ] #Color 0 1 0 ReadArchive "medres2.rib" DetailRange [ 35000 35000 2000000 2000000 ] #Color 0 0 1 ReadArchive "highres2.rib" TransformEnd |